As a yoga student, it can be wildly intimidating to be in class, and suddenly, you hear, “Take your mat to the wall for Handstand (Adho Mukha Vrksasana) practice.” Your eyes look across the room to watch other students pull their mats to the wall. Often, you will see students who are actively hand-standing or working on kicking up while other students are in Balasana (Child’s Pose) or Viparita Karani (Legs Up the Wall Pose) (photo below) for their inversion practice.

As a yoga teacher, I try to bridge the gap for students new to Handstand. There are sometimes two avenues for yoga practice: the dos and don’ts, the cans and the can'ts. As yoga practitioners, we know our world is much more flavorful than just these two options.
That is not to say that someone who chooses to do a pose other than Handstand should be practicing because that’s what’s happening in the class, especially if it is counterproductive to the student’s health. Unless there is a physical limitation or general fatigue, there are ways to receive some of the same benefits as Handstand without going into full Handstand. Having options can help students who aren’t ready for Handstand but can successfully hold Adho Mukha Svanasana (Downward-Facing Dog Pose) and move onto a new stage. The students new to the practice can benefit from an in-between pose as an intro to Handstand without diving head first into this new, challenging practice. (No pun intended.)
Preparing for Handstand Yoga Pose
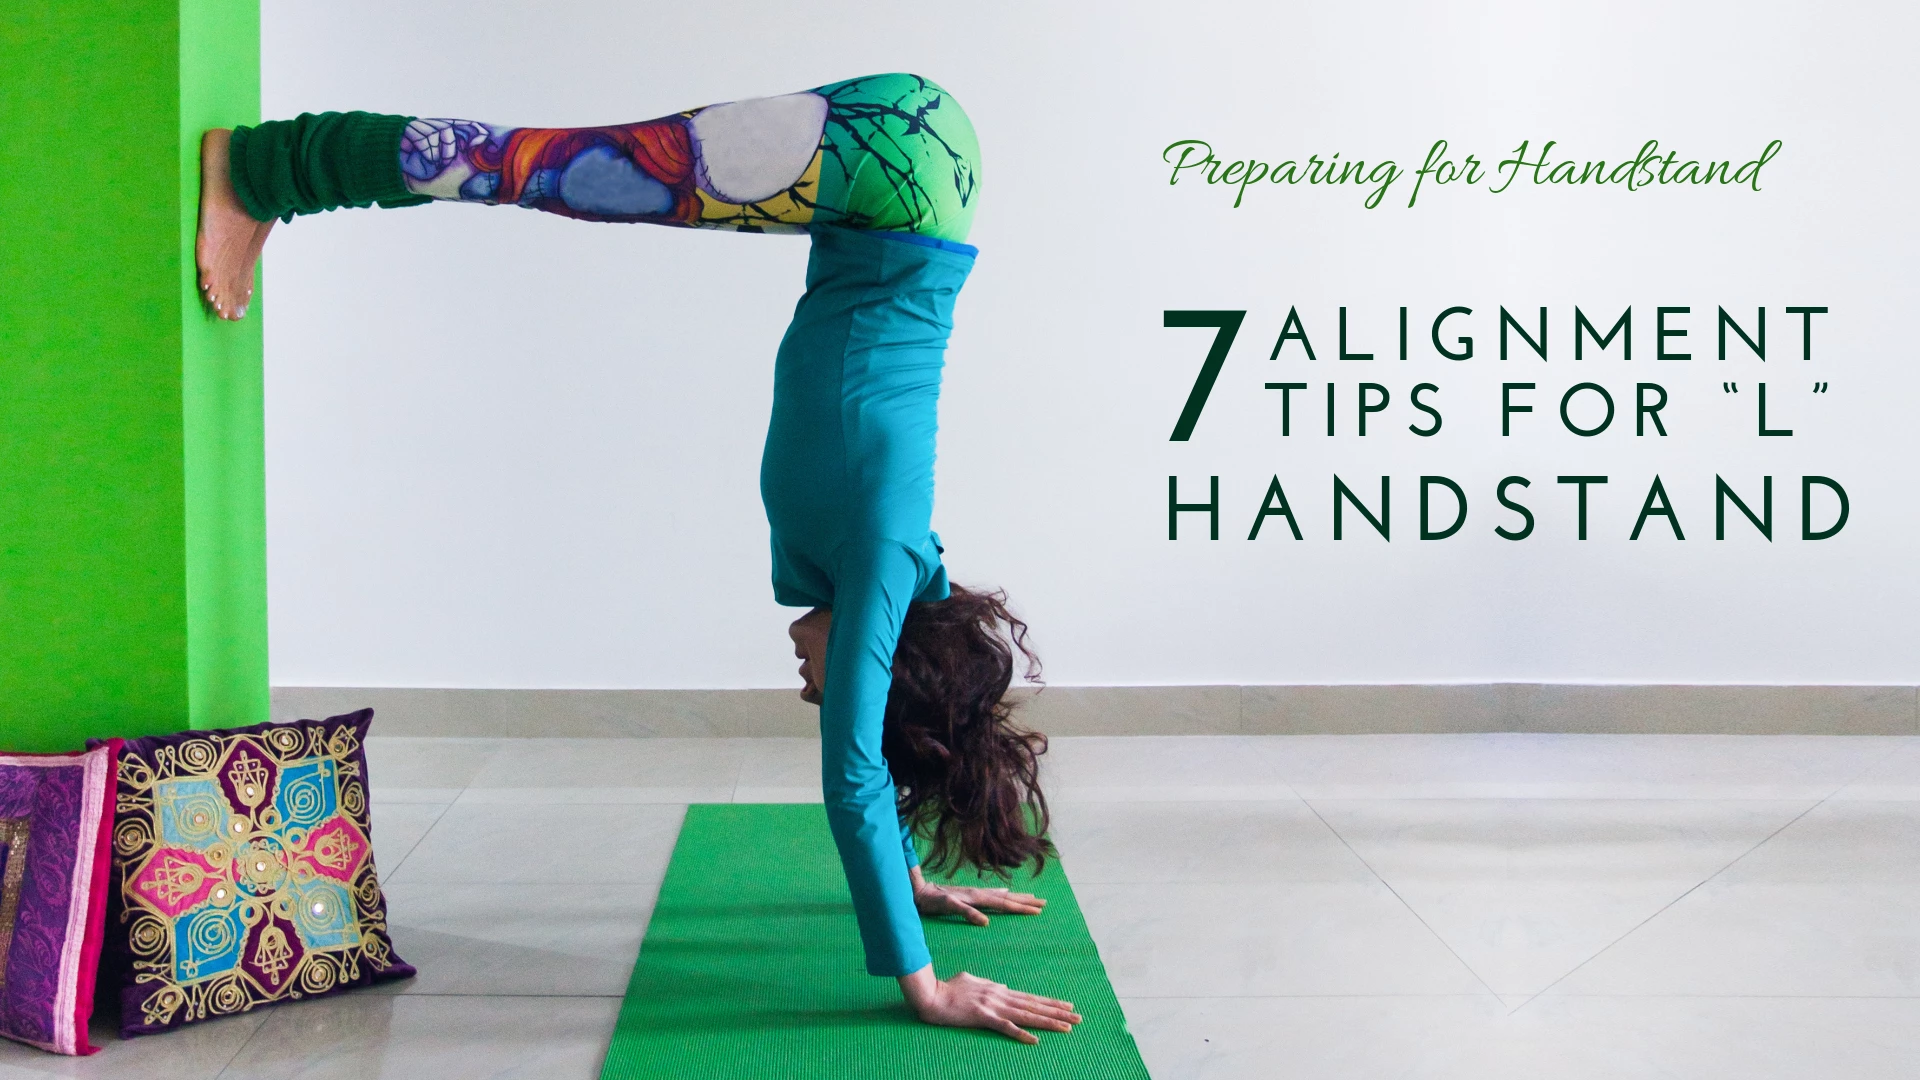
The “L” Handstand is my in-between gateway pose for introducing the Handstand. It is the same shape as the Downward-Facing Dog Pose, a shape yoga students should be highly familiar with if they plan on attempting a Handstand, with their feet on the wall and their hands on the floor in an “L” “-like shape. It is also a kinder pose from the teacher’s perspective. Spotting Handstands can be tricky because of potential dangers like swinging legs. Here are five tips to align your “L” Handstand with precision and success.

- Have a strap handy. Sit down with your back against the wall and your legs stretched out in front of you in Dandasana (Staff Pose) (photo above). Place your strap horizontally across your mat where your heels land. Make sure the strap is taut and straight before letting go. When you set up for an “L” Handstand, the heels of your hands will be placed on the strap, with your fingertips facing away from the wall and your heels against the baseboard of the wall.
- Having the proper distance for your hands and feet is crucial structurally for your alignment and stability. If you narrow or widen your base too much, you might throw your balance off, causing you to fall from the wall or be unable to hold yourself up. Again, you must be familiar with Downward-Facing Dog Pose and Plank Pose to attempt the “L” Handstand.
- The standard setup for an “L” handstand is to place your hands shoulder-width apart and evenly press down into the floor. You must be able to feel both the heels of your hands and your fingertips, as your hands will ultimately be your foundation when you graduate to a Handstand. The hand positioning is identical to a Downward-Facing Dog Pose.
- Place your feet hip-distance apart or slightly wider to almost hip-flesh distance apart. Having some extra space between your feet may be helpful if your hamstrings are tighter. Wider feet also help you balance more easily on the wall.
- Although this step coincides with tip #2, this particular alignment must have valuable space. Once you step your feet from the baseboard onto the wall, your hips will lift further toward the ceiling than in Downward-Facing Dog Pose. Place your hips right over your shoulders. This may take a few times to get. Don’t get frustrated. Stick with the practice, feel your body, and stay in tune with your alignment. If you think you might fall on your face, walk your hands away from the wall a bit. Have a teacher, friend, or even video help you find where your hips are directly over your shoulders.
- A common tendency is to walk the feet high up the wall. For the “L” handstand, you genuinely want to make your body into the letter “L.” It is tempting to walk your feet up the wall, but then your shoulders aren’t as stable, the hips do not structurally align over the shoulders, and there is a strong likelihood that the body will bend at the lower back, creating the yogi banana back. The “L” shape reinforces maintaining a firm core and the upper body alignment you seek in Handstand. You will also create abundant strength by holding your legs at a 90-degree angle.
- Come down before you need to. When you are new to any pose, it is wise to test the waters, see what is happening, come down, and then rest while you integrate the experience. Each time you practice, you get stronger in the shoulders and the core and more confident being upside down. When you start to feel tired, instead of holding on for two more breaths, just come down so you do not collapse or fall out of the pose—step one foot off the wall and then the other when you come out. Rest in Child’s Pose or on your back.

After holding the “L” handstand for a longer period, you will eventually head into the territory of a full Handstand. Not only is “L” handstand an excellent preparation for traditional Handstand, but it is also a pose that you can continue returning to improve upper body strength and finesse your alignment. Enjoy building your “L” Handstand with these tips, and be confident that there is always a pose in between to bridge the gap between the dos and don’ts.
 Allison Schleck, E-RYT 500, RPYT, is a vinyasa-based yoga teacher fascinated by the intricate relationship between the mind and body. She offers a range of alignment-focused classes that touch on anatomy, philosophy, and creative propping with a mindful approach. In addition to teaching group classes and managing the Yoga Culture studio in Danbury, CT, she also teaches at Open Door Family Medical Center in Westchester, NY, empowering mothers to be with prenatal yoga classes and childbirth education. You can find her @allisonschleck on Instagram and www.allisonrayjeraci.com

