6 Ways to Customize a Yoga Pose
The other night when I was cooking dinner, I had an epiphanette (a tiny epiphany). As usual, even though I had a recipe in front of me, the actual way I was making it was different in several ways from the written instructions. After all, over time, I’d been tinkering with the recipe by changing the amounts of certain ingredients and even adding a new one (almost any pasta sauce is better with some red pepper flakes, right?) until I was finally satisfied with it.
That’s when I suddenly realized that customizing a yoga pose was very similar to tinkering with a recipe. I fully support creative variations of poses to fit each person’s individual physical/mental/emotional diversity. So today I’m going to give you some tips on how to customize your poses safely.
How to Customize Your Yoga Poses Safely
Because tinkering with a yoga pose is something that affects your body, and not just your food, where the worst that can happen is that something doesn’t taste good, I want to recommend two basic guidelines you should follow:
- If you’re customizing a pose due to an illness or physical problem and you don’t already know the contraindications for your condition, start by doing some research. Ask your doctor or physical therapist about movements that are okay for you and those that are not. Don’t just ask if “yoga” is okay. Instead, go through the list of the various movements you plan to make, such as forward bending, backbending, twisting, arms overhead, partial and full inversions, etc. We want you to stay safe!
- Test out your variations mindfully and honestly. When you’re in the pose, take time to check for pain or other forms of discomfort—that’s a signal the pose isn’t working for you. Also, check that your pose is reasonably balanced—that your weight is equally distributed—so you don’t overwork or strain one part of your body. As you evaluate your variation, always practice truthfulness (satya) and be willing to search for another solution. My motto is: “If it’s not working for you, it’s not working for you.”
Now here are my tips for different ways you can customize a pose. I don’t always use the cooking metaphor for all six ways, but basically, if you keep that in mind it might make you more comfortable with the process.
1. Do the Pose More Gently
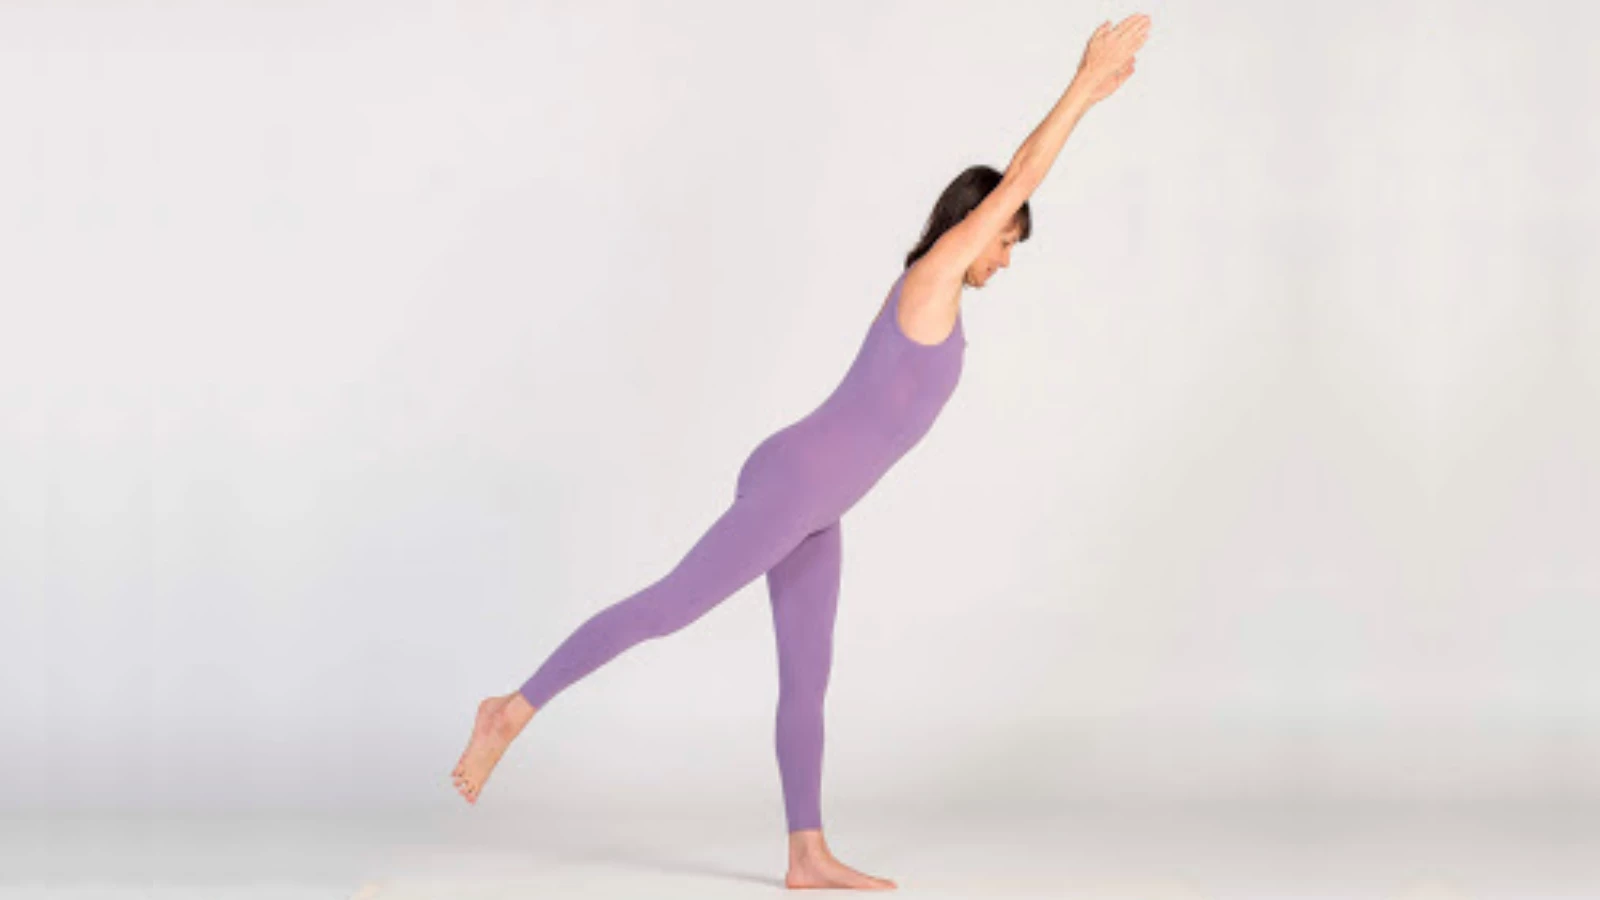
Take the basic shape of the pose but don’t go as “deeply” into it as photos of the classic pose typically show it, or as “deeply” as you used to practice it. For example, my favorite variation that I came up with is the gentler, more accessible version of Warrior III Pose (Virabhadrasana III) in the photo above.
So in any pose, don’t bend your hips, back, or knees as much. Don’t stretch as far. Don’t turn as far in a twist. Don’t lift your leg as high. Don’t take your legs as far apart. Don’t bend as far in a forward bend—or keep your spine extended instead of rounding it. If you think of it as tinkering with a recipe, it’s like reducing the salt, the oil, or hot pepper, or the garlic—all the ingredients are still there but maybe just not as much of some of them.
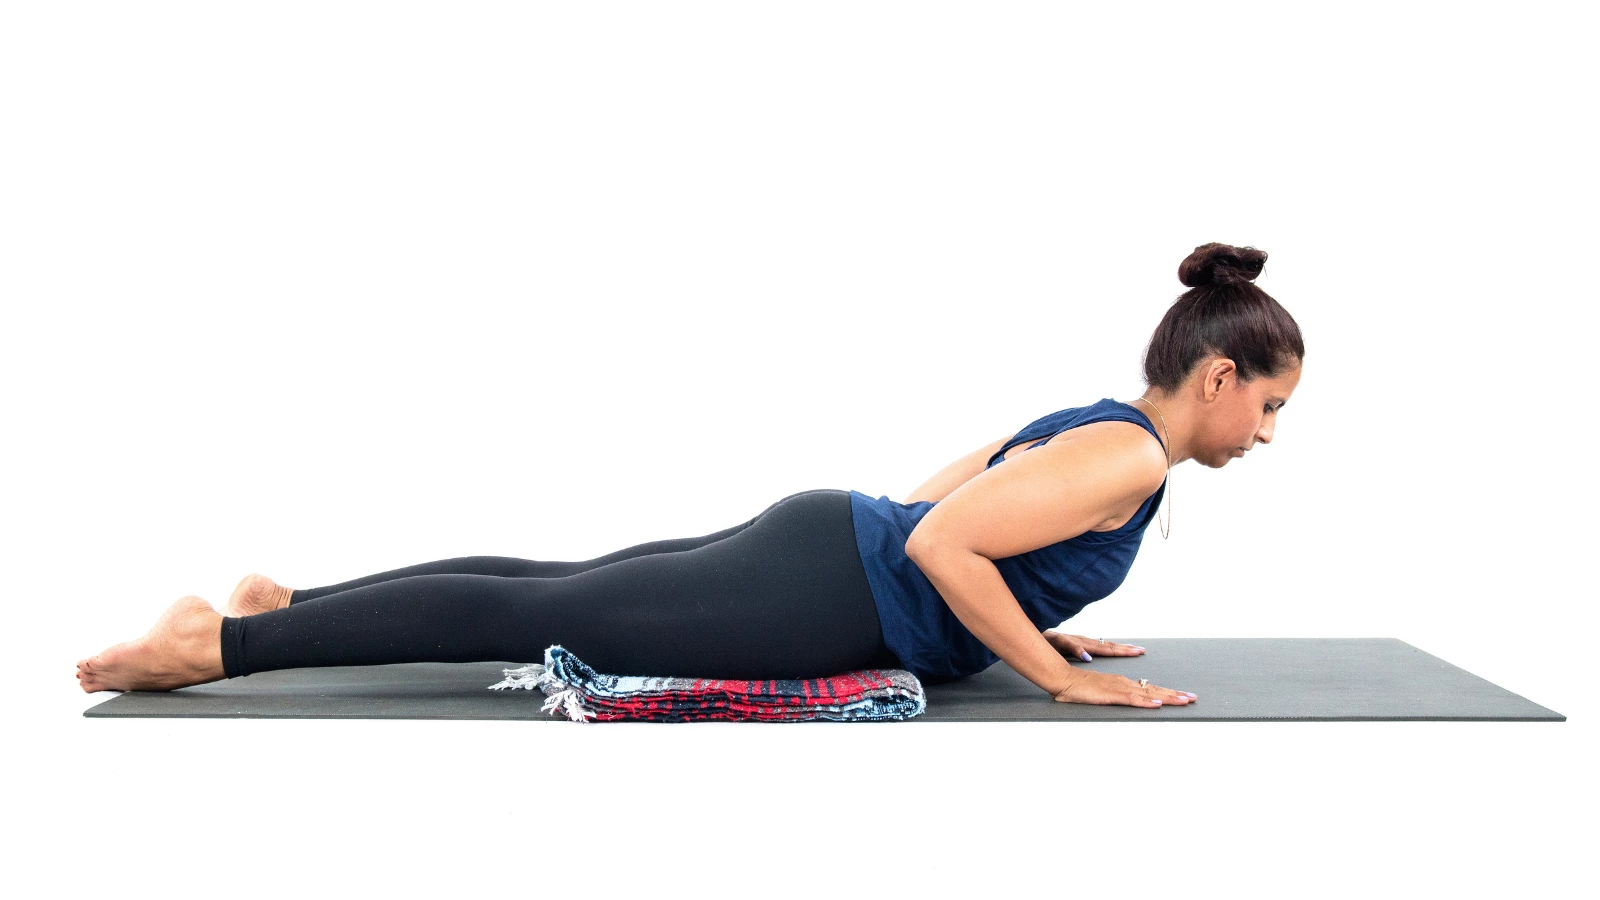
Sometimes that means using a prop, for example, under your knees in a seated pose to keep your hips from over-stretching, but other times it simply means backing off from the classic version. For example, some people with bad knees find it helpful not to bend to 90 degrees in standing poses.
2. Change the Foundation of the Pose
The foundation of your pose is the part of your body that is touching the ground. Changing your foundation can make the pose steadier, more gentle, or, in some cases, make more space for your body if there is a part that is feeling squished. If you think of this as tinkering with a recipe, maybe it’s like replacing all that butter with some extra virgin olive oil—something I do all the time—to make the pose healthier for you.
For standing poses or any poses where your feet are on the ground, you can change the alignment of your feet. In a pose where the classic version has toes touching or feet very close together, try moving your feet apart, either in line with your hip joints or even further.
If you have a single foot near a different body part, such as in the seated twists Marichi’s Pose III (Marichyasana III) and Half Lord of the Fishes Pose (Ardha Matseyendrasana), try moving your foot further away. In a pose where the classic version has the feet very wide apart, try moving your feet closer together. In a pose where the classic version has the front foot aligned with the back foot heel to arch, try widening out a bit, aligning heel to heel, or even further apart.
When you are kneeling and your shins are your foundation or part of it, try moving your shins a bit apart. When your hands or forearms are either the foundation or part of the foundation, you can also try moving them further apart to find more stability or room for your body.
In some poses, your foundation is actually your hip points, as in Locust Pose (Salabhasana) or your sitting bones Boat Pose (Navasana). Of course, you can’t move these bones further apart, but you can cushion them with a folded blanket, which can help make the pose gentler.
3. Remove an Element from the Pose
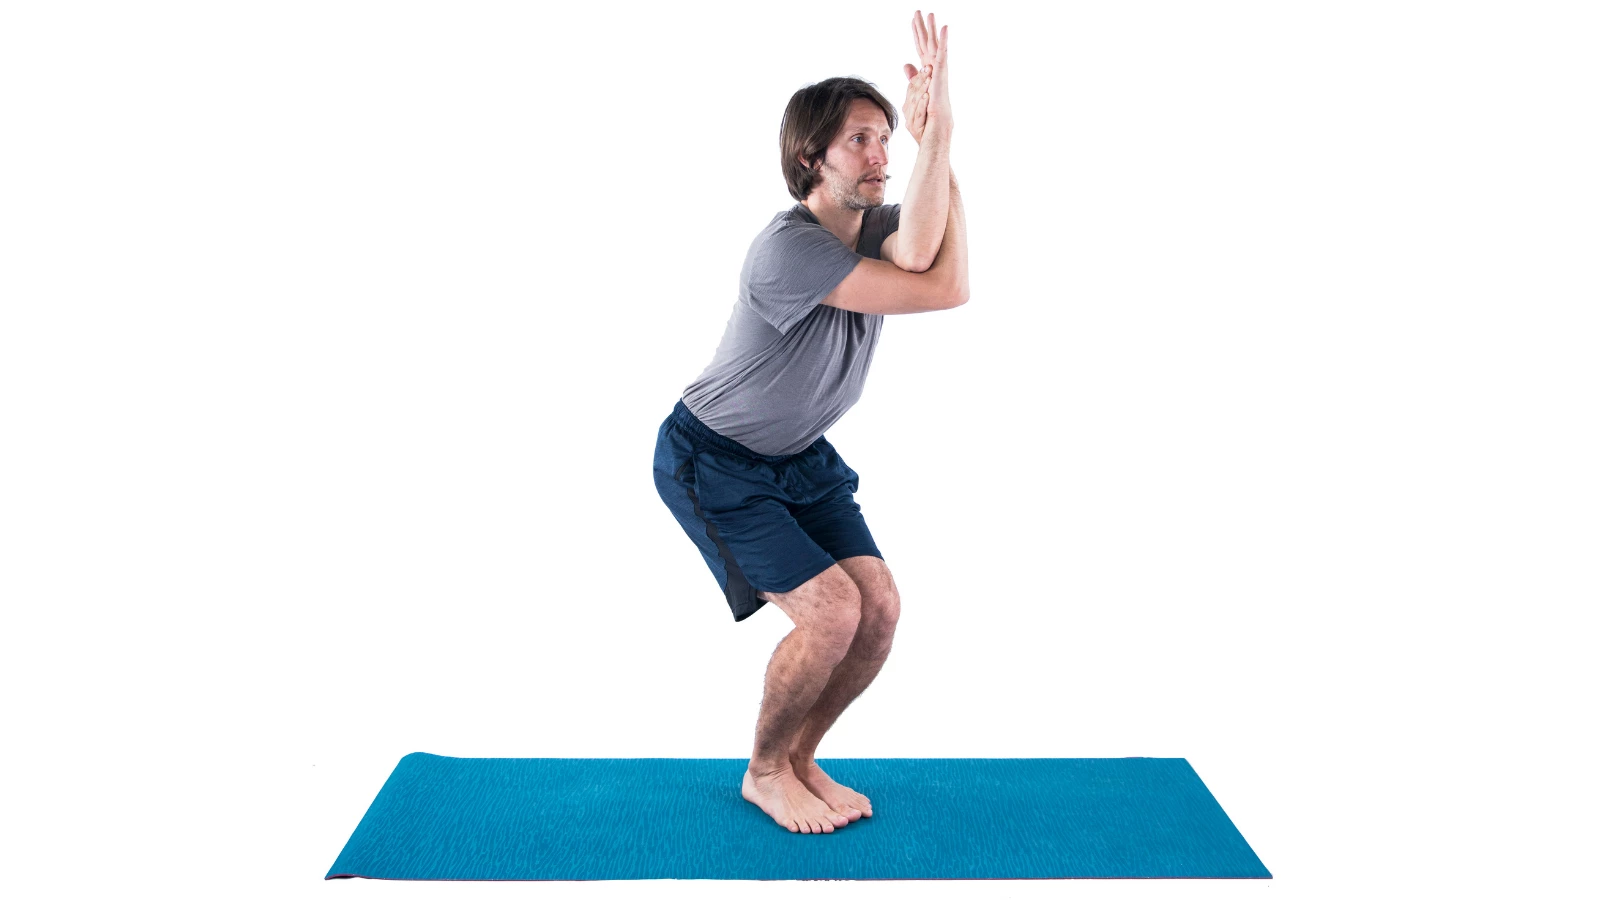
If there is a movement you cannot make, such as raising both arms or standing on two feet, you can just do the part of the pose that’s accessible to you. You can also remove an element from the classic pose to make the pose less physically demanding. If you think of it as tinkering with a recipe, it’s like leaving out one of the ingredients entirely.
Although almost all standing poses involve both legs and arms, you can do them all keeping your arms at your sides or hands on the hips. For example, Warrior I, II, and III Poses (Virabhadrasana I, II, and III) can all be done without the classic arm positions, with arms by your sides or hands on your hips. On the other hand, you can also do arm positions without leg positions. For example, you can do arm positions for Eagle Pose (Garudhasana), Warrior O, and Warrior II poses while seated in a chair or with simple Mountain pose legs.
The same is true for seated poses that involve arm movements. For example, you can do just the legs or just the arms in Cow Face Pose (Gomukhasana). If you can’t do the leg position in a seated pose, do the arm position with a leg position that does work for you. For seated forward bends that involve stretching the arms forward or down toward your feet, if you can’t bring your arms alongside your ears, you can do just the leg and back positions as you find an alternate position for your hands that is comfortable for you.
4. Make Friends with a Wall
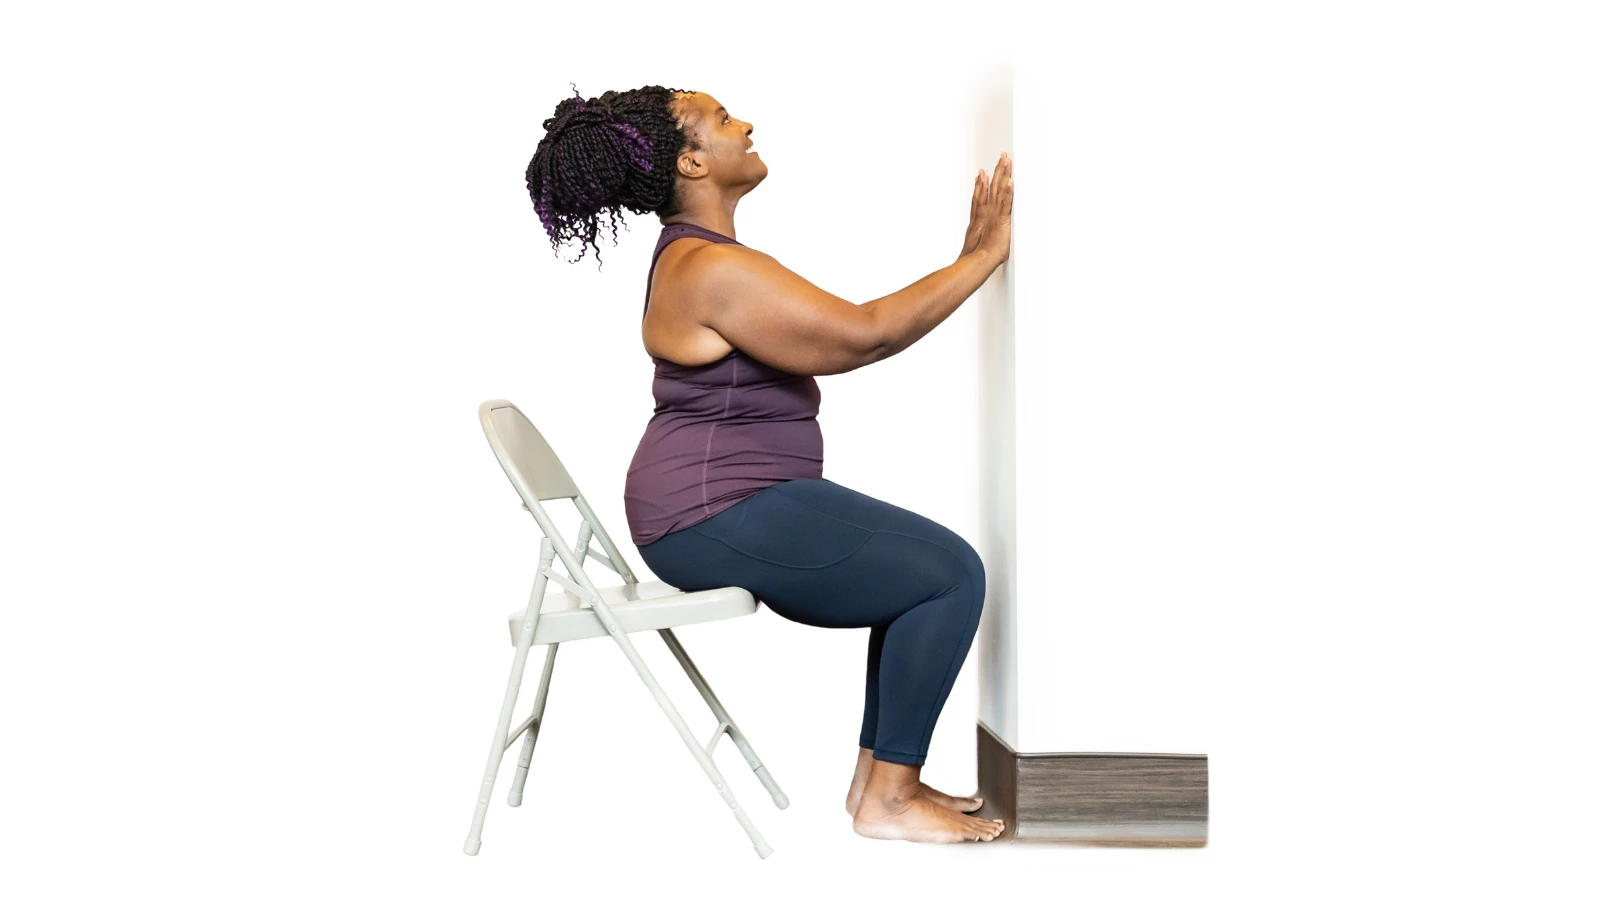
When you’re practicing yoga at home, if you don’t have a bare wall, make it a priority to create one if at all possible. There are so many different ways to use it!
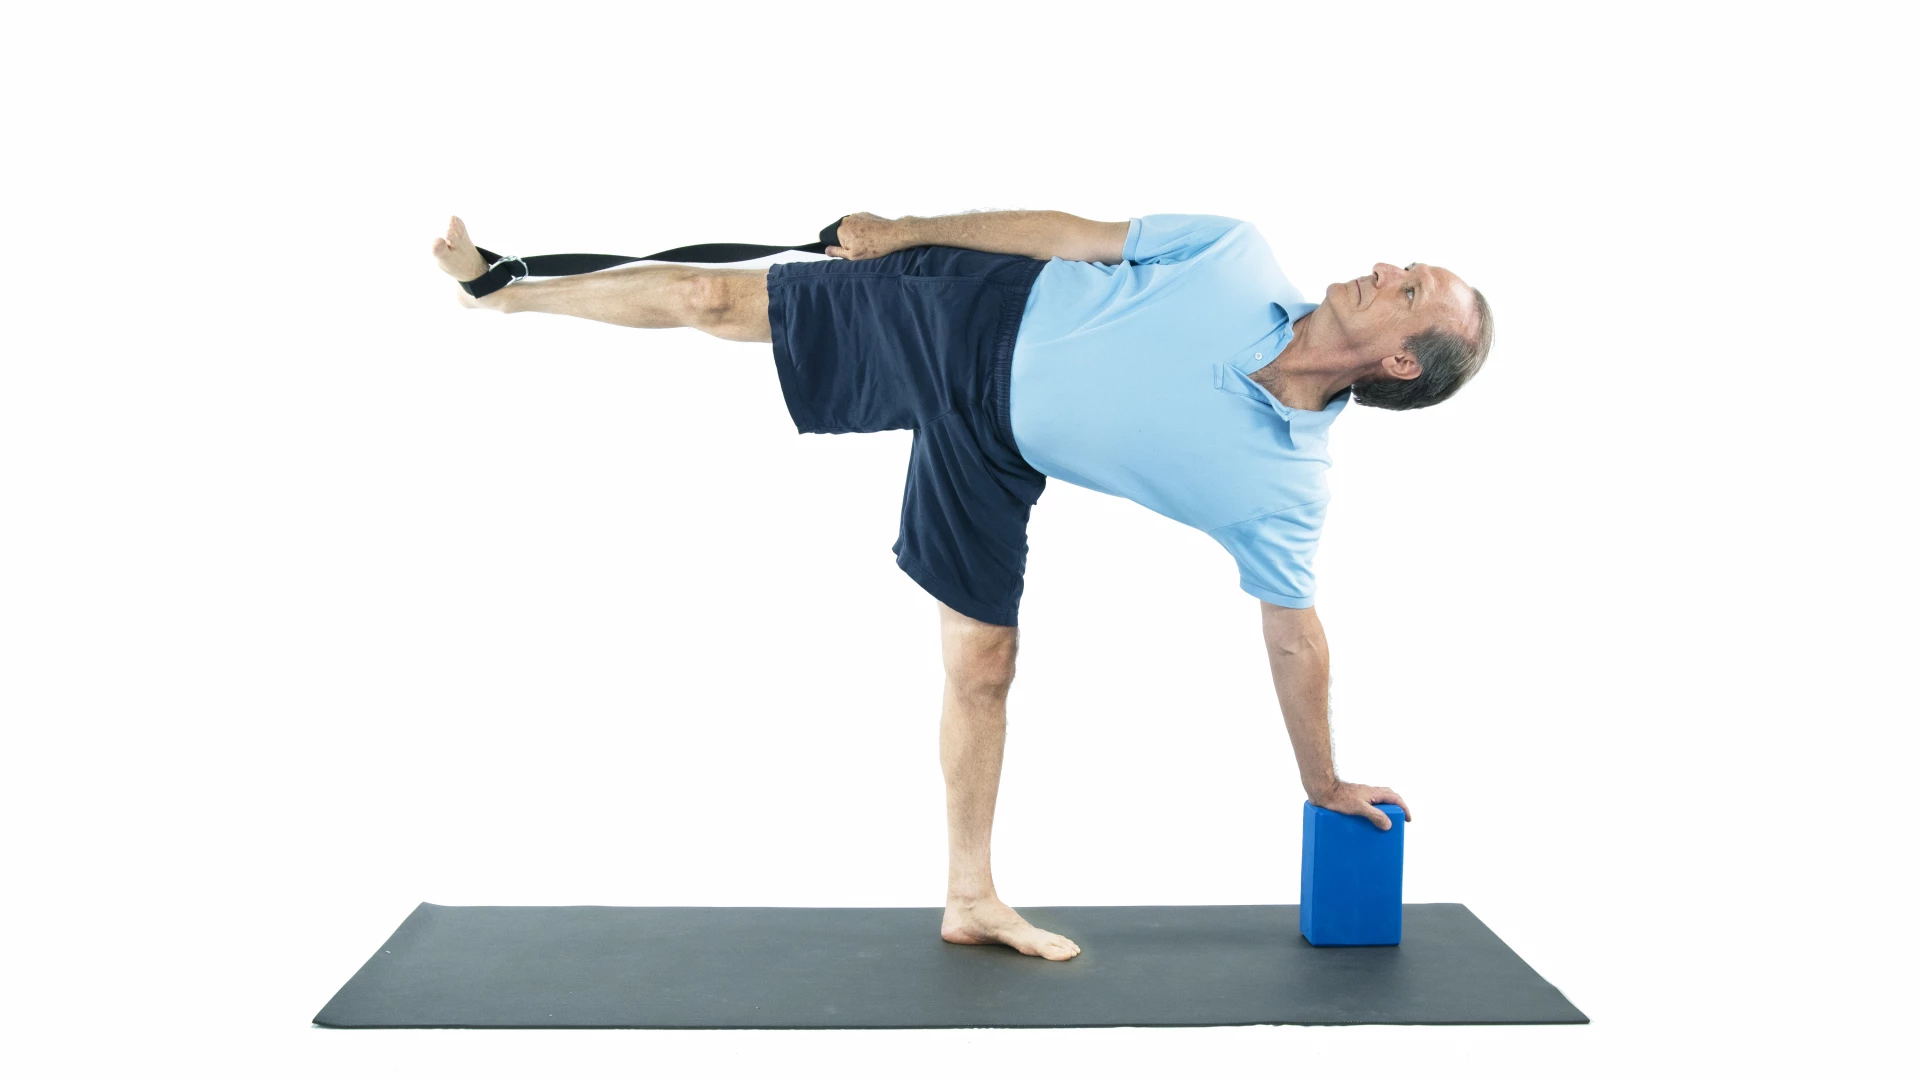
- Back to the Wall: Seated poses, as well as standing poses, can be practiced with your back or hips touching the wall for support, and to make the pose gentler. Examples are simple Easy Pose (Sukhasana) with your back against the wall, Standing Forward Bend Pose (Uttanasana) with your buttocks on the wall, and Half Moon Pose (Ardha Chandrasana) with your hip and top hand on the wall.
You can also practice standing poses near a wall for a feeling of security. For example, for those who have balance problems, practicing balance poses such as Tree Pose (Vrksasana) and Eagle Pose, or standing poses that have feet wide apart, such as Triangle Pose (Trikonasana) and Extended Side Angle Pose (Parsvakonasana), with your back to a wall can be very reassuring.
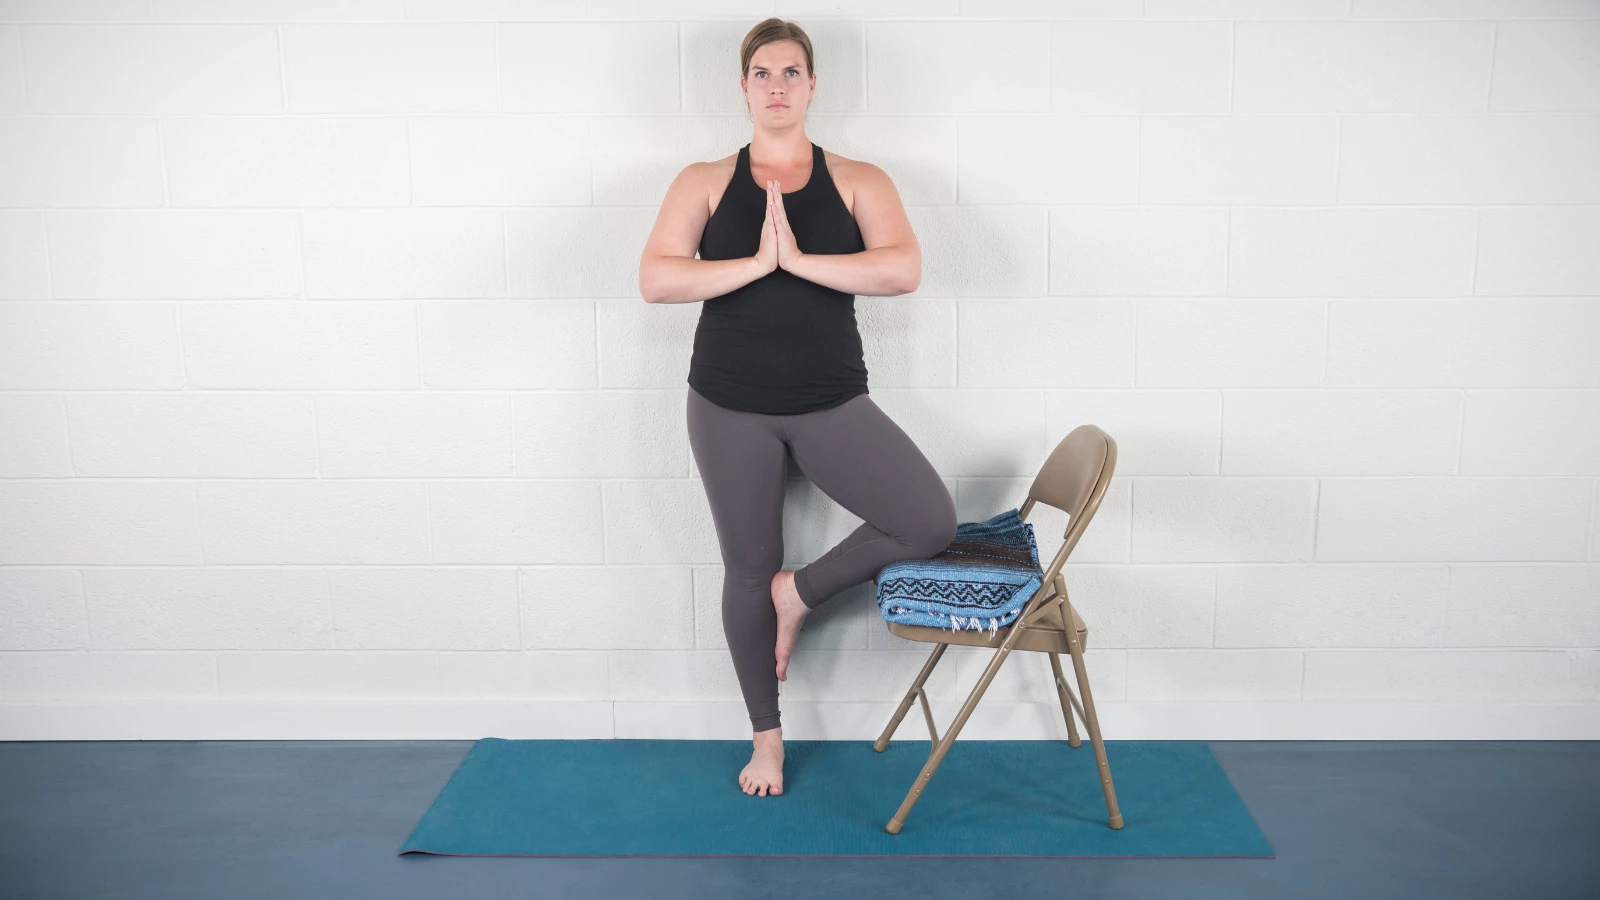
- Side to the Wall: Seated twists, even done in a chair, as well as some standing poses, can be practiced so you can place your hands or another body part on the wall for support. Examples are Tree pose with your bent knee touching the wall and Noose Pose (Pasasana) with hands on the wall.
- Front to the Wall: Several standing poses, such as Pyramid Pose (Parsvottanasana), Warrior I, and Warrior III can be practiced with your hands on the wall for support. Recently I practiced Camel Pose (Ustrasana) with the fronts of my thighs on the wall, so I’m sure there are other things you can do facing the wall. (See tip # 6 below for information about how you can use the wall as the “floor” for poses that are normally done on the floor.)

- Heel or Heels on the Wall: A classic way to make wide-legged standing poses more stable and less demanding is to position your back heel against the wall with your front foot facing the middle of the room. Then there’s Downward Facing Dog Pose (Adho Mukha Svanasana), which you can practice with both heels on the wall for stability and support.
5. Be Creative with Props
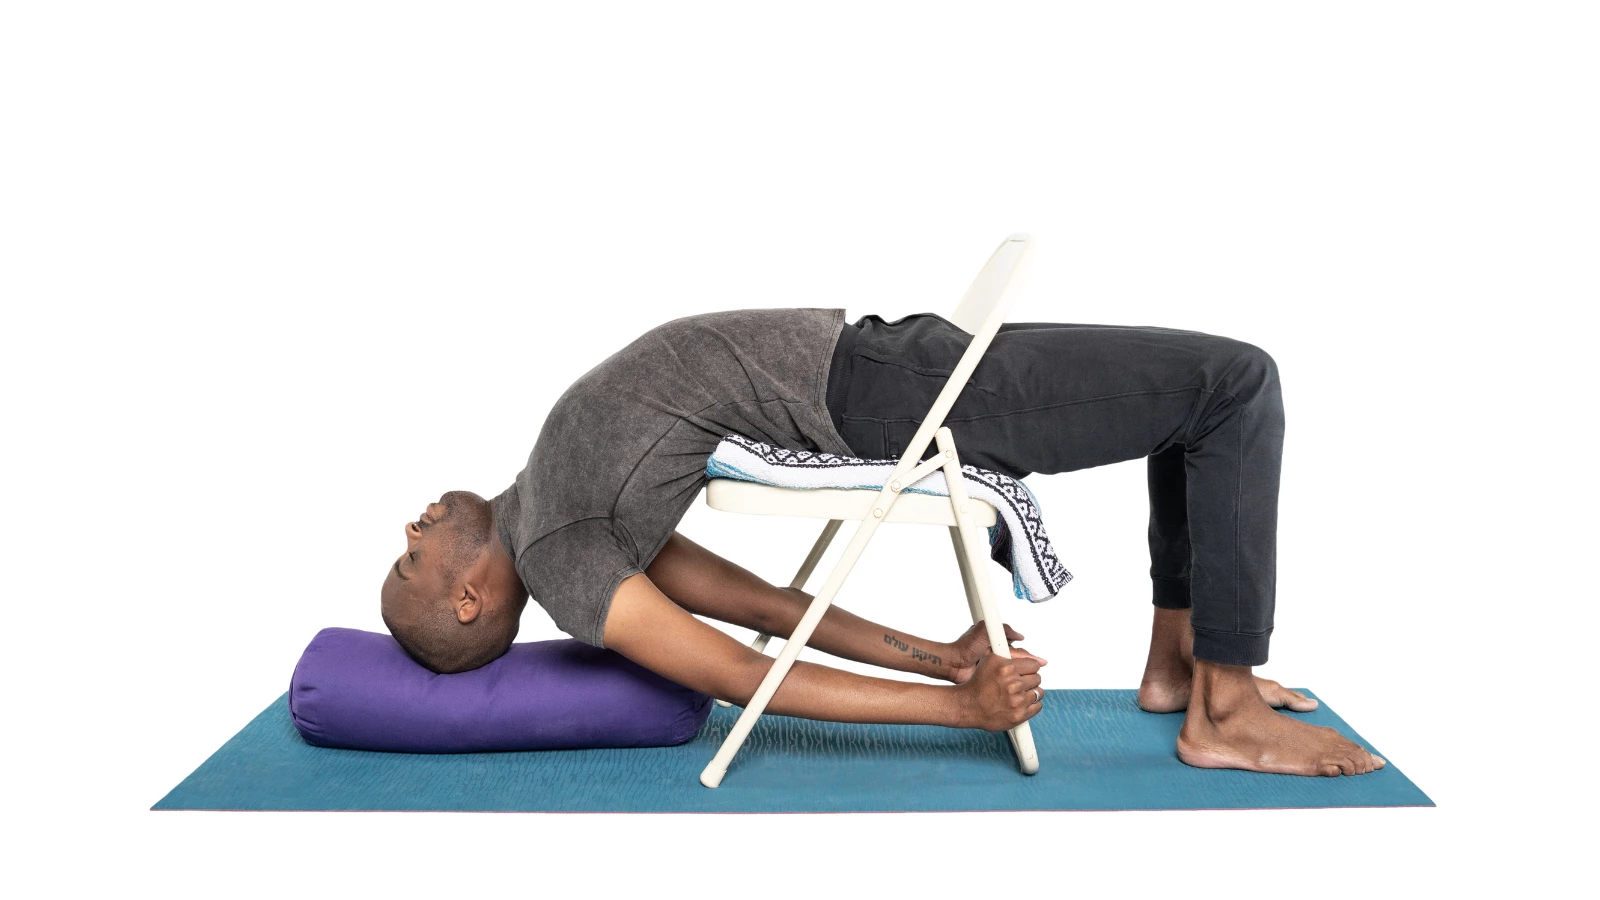
If the traditional props don’t work for you because they’re not the right shape or size, look around the house and see what you can find. You can use small household items, such as towels and washcloths, books instead of blocks, bags of rice or beans instead of sandbags, and so on.
You can also your furniture. I’ll never forget yoga teacher Patricia Walden saying that every time she walked into a hotel room she did a quick inventory to see which furniture she could use in her practice. And one of the best uses of furniture I know of is using a dining table, sturdy coffee table, or firm bed as a “raised floor” for those who want to do reclined poses but can’t get up and down from the floor.
6. Change the Orientation of the Yoga Pose
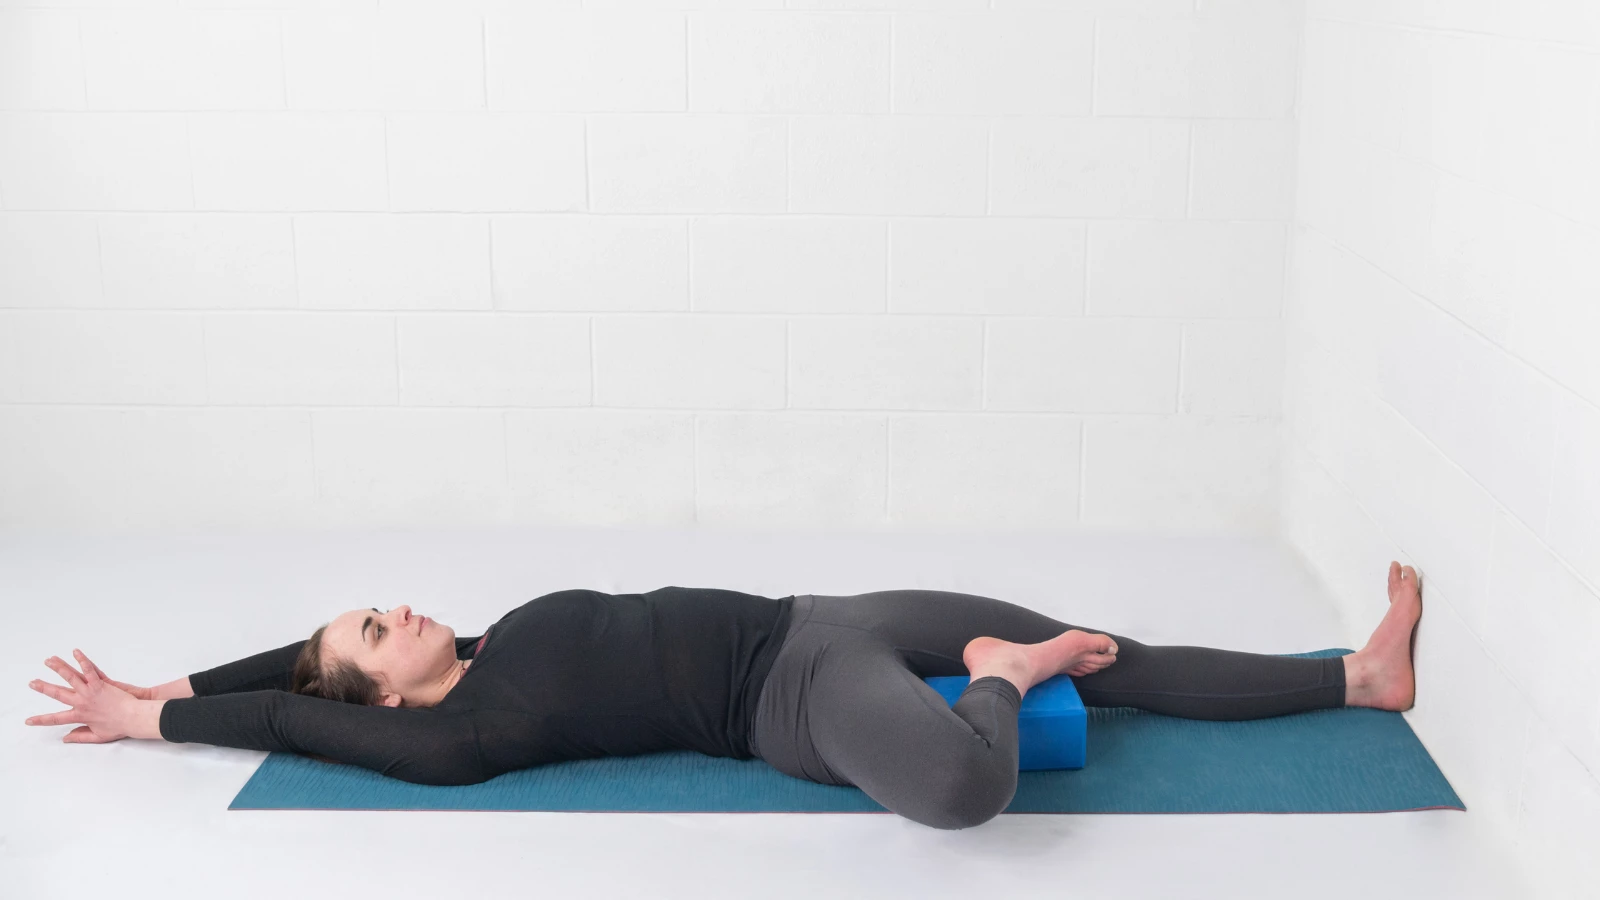
For some people, a whole category of poses in their classic forms is not accessible. Perhaps you can’t stand up, can’t get up and down from the floor, can stand up but can’t lie down, can’t bear weight on your hands, or can’t go upside down. The solution to this is to change the orientation of the yoga pose. Once you get into the habit of seeing the basic shape of a pose can be done standing, seated, reclined, and using the wall as the floor, you’re sure to come up with a variation that suits you.
Although you won’t get exactly the same physical benefits from the pose when you change its orientation, you will still be taking the basic shape of the pose, which can help you maintain flexibility and range of motion as well as strength. And taking a variety of shapes will help your coordination and fine muscle control. It will also allow you to expand your repertoire of poses you can do so you don’t have to do just a few poses over and over.
- Lying Down: You can generally take the shape of many standing poses by lying with your back on the floor with your feet on the wall as if the wall was the floor and the floor was a wall.
- Seated on a Chair: You can generally take the shape of any pose with either part or all of your body when you are seated on a chair.
- Standing: If you think of the wall as the floor, there are many prone poses, like Cobra Pose (Bhujangasana) and Plank Pose (Phalakasana), that you can do standing with part of your body against the wall.
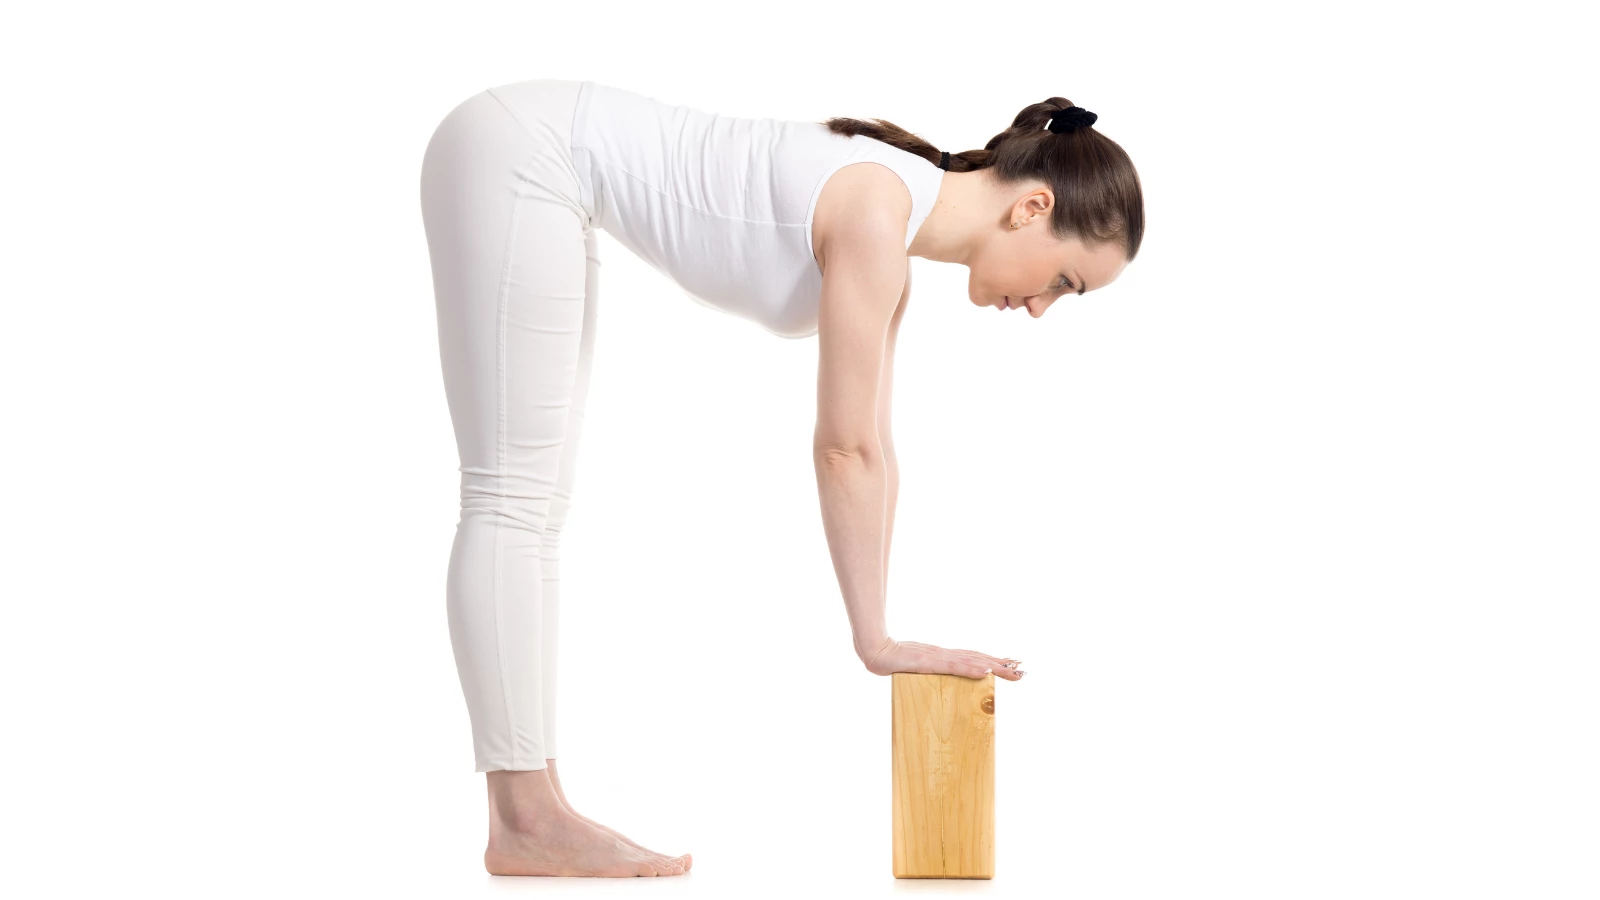
- Upside-Down vs. Right-Side Up: For those who cannot go upside down into a full inversion, you may be able to do a partial inversion in the form of a similar pose, such as Standing Forward Bend Pose with your head on a block or chair instead of Headstand Pose (Sirsasana). You can also try the pose right side up, such as Handstand Pose (Adho Mukha Vrksasana) with your feet on the floor and your hands in the air, as if they were touching the ceiling.
Also, read...
Enlivening the Body’s Subtle Energy with Mula Bandha
Half-Hero Pose: Television Yoga for Tight Quads
Love your Back With This Spine-Focused Yin Yoga Sequence
Related courses
Yoga for Back Care and Spinal Mobility: A 4-Week Practice Series
The Psoas Connection: Core Stability for Movement, Breath & Digestion
Optimizing Your Breath: Yogic Breath for Cellular Vitality

Nina Zolotow, RYT 500, the author of the forthcoming book “Yoga for Times of Change” and the Editor-in-Chief of the Yoga for Healthy Aging blog, is both a yoga writer and a yoga teacher. She trained to be a yoga teacher at The Yoga Room in Berkeley, California, has studied yoga therapy with Shari Ser and Bonnie Maeda, and is especially influenced by the teachings of Donald Moyer. She also studied extensively with Rodney Yee and is inspired by the teachings of Patricia Walden on yoga for emotional healing. Her special area of expertise is yoga for emotional well-being (including yoga for stress, insomnia, depression, and anxiety). She teaches workshops and series classes on yoga for emotional well-being, stress management, better sleep, home practice, and cultivating equanimity.
Nina is the co-author with Baxter Bell of Yoga for Healthy Aging: A Guide to Lifelong Well-Being and co-author with Rodney Yee of Yoga: The Poetry of the Body (with its companion 50 Card Practice Deck) and Moving Toward Balance. She is also the author of numerous articles on yoga and alternative medicine.


