No pose energizes, focuses thought, and breaks us out of dull, listless moods as effectively as Headstand Pose (Salamba Sirsasana). But Headstand isn’t a pose for beginners. So this week’s five-minute yoga challenge is to do five minutes in a Headstand preparation every day.
Headstand is one of the most powerful poses in yoga, bringing mental clarity and health to those who practice it. But for beginners, full Headstand can be daunting, and without the strength to stay in alignment, harmful. This preparation will give you an energy burst from being inverted, accompanied by some of the calm and focused mental clarity gained from Headstand practice.
If you’re an advanced practitioner, by all means, work toward five minutes in the full pose. But know that the safest way to increase your time in Headstand is to add no more than 30 seconds a week to your holding. If you’re a long way from five minutes, try this preparation first, then do your full pose.
And remember that in Iyengar yoga, Shoulderstand Pose (Salamba Sarvangasana) always follows Headstand, either directly, or later in the practice.
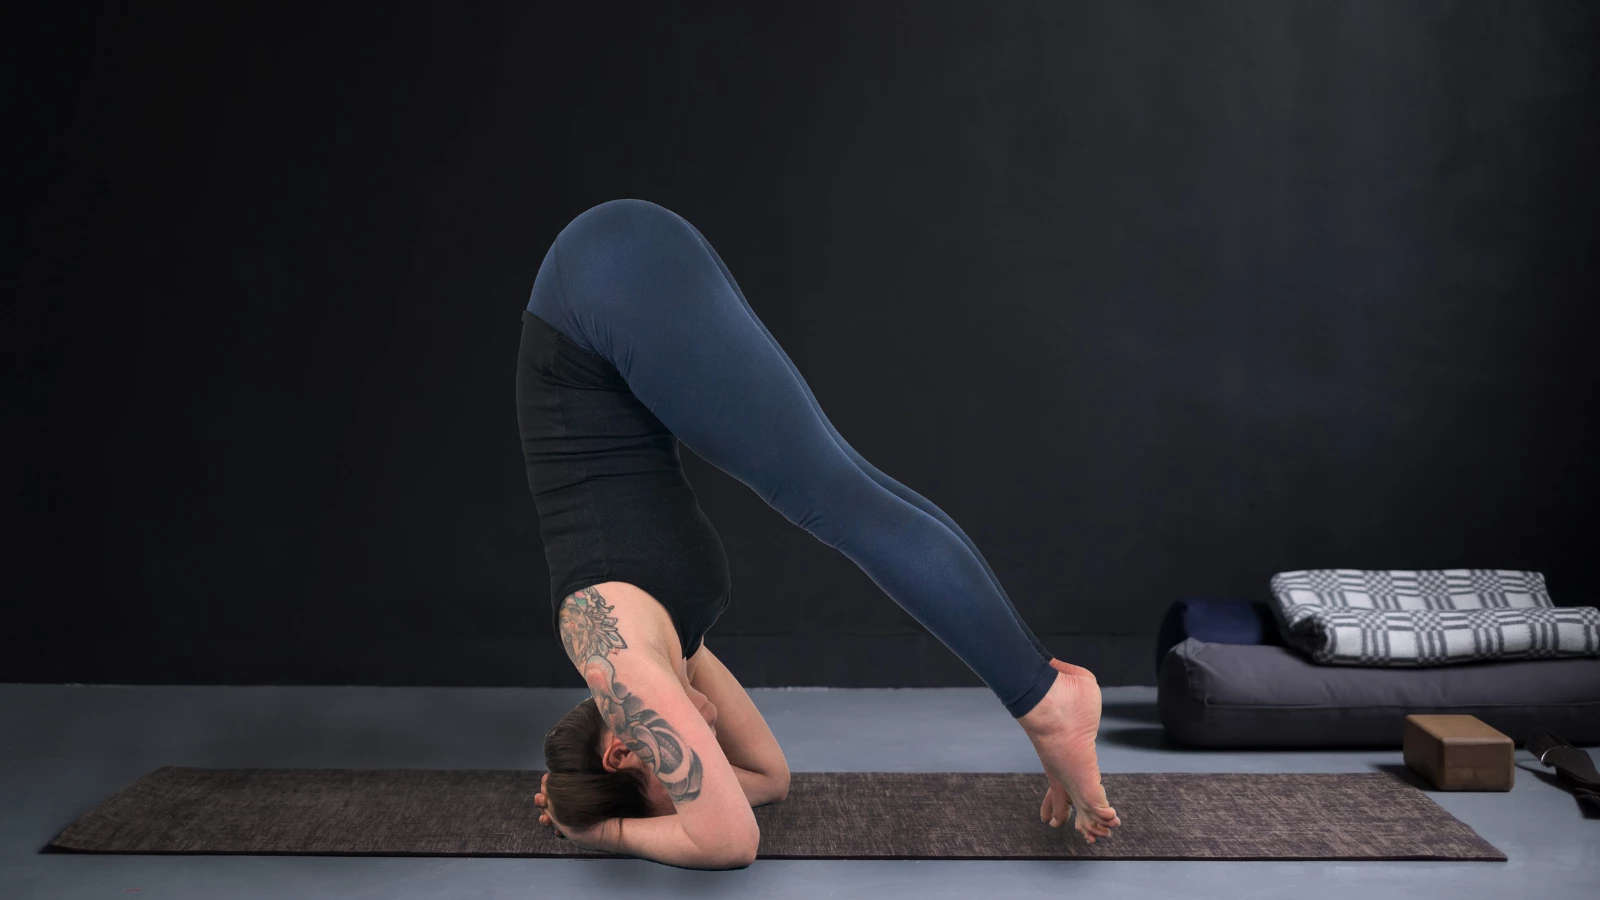
How to Practice Yoga’s Headstand Prep Pose The blocks at the wall support your shoulders in this headstand preparation
 with wall and block")
Not ready for the full pose?
Here’s a safe, easy way to start working with it, without having to take your feet off the floor. It’s accessible to anyone who has a good grasp of Downward Facing Dog Pose (Adho Mukha Svanasana), and it can clear the mind and raise the spirits almost as effectively as Headstand itself.
If you have a helper to place the blocks, it’s a piece of cake. But with a little bit of practice, you can do it easily on your own. Here’s how:
- 1. Place a yoga mat with the narrow end at the wall. If you have a second mat, fold it so you have three layers of thickness below your head. If you don’t have a second mat, use a firm blanket or a folded bath towel under your forearms.
- Kneel, and with your hands hold three chip-foam blocks against the wall. If you don’t have chip foam blocks, you can use one or two regular yoga blocks.
- Bring your elbows to the floor and press your shoulders into the blocks. Make sure that the bottom edge of the blocks rests against your shoulders, and that the bones of your neck are below the blocks.
- Clasp your hands, with your elbows shoulder-width apart. Let your knuckles touch the wall. Bring the crown of your head to the floor.
- Tuck your toes under and push up as though you were going into Downward Facing Dog Pose.
- Take your feet out wide, to the edges of the mat, and walk them in toward your head.
- Press your forearms strongly into the floor, especially the centers of the forearms, and press your shoulders into the blocks. If you push down hard enough, your head will lift off the floor. Relax your neck and let the weight of your head stretch your spine. Check that you are looking out evenly, neither down to the floor nor up toward the ceiling.
- When you’ve held for as long as you like—it’s a surprisingly restful position—bend your knees and come down. You can hold the chip foam blocks as you come down, or just let them tumble harmlessly to the floor.
- Rest in Child’s Pose (Balasana), with your head down, for four long breaths.
How to Sequence Headstand Prep
You can do this preparation whenever you feel low-energy or befuddled, and have the wall, the props, and privacy. Start your five minutes with a minute in Downward Facing Dog Pose, which will help your body adjust to the inversion. Then take your blocks to the wall.
Because you will not be bringing your body weight into your head, you don’t need to follow this preparation with a Shoulderstand, although there’s certainly no harm in doing so if you have the time.
Contraindications for Yoga’s Headstand Prep
Do not do this pose if you have high blood pressure that is not under control. Also avoid this pose if you have glaucoma, detached retina, or are menstruating. Tight hamstrings? Keep your sitting bones high, but generously bend your knees.