Millions of Americans suffer from pain caused by TMJ. TMJ is characterized by dysfunction in and around the temporomandibular joints, where the mandibles (jawbones) meet the skull's temporal bones. Yoga offers excellent ways to address this pain and can provide relief that some individuals can feel almost immediately.
If you experience clicking, jaw popping, pain in or around your jaw, jaw locking, pain around your teeth, and soreness upon awakening, then chances are you are suffering from TMJ pain.
Three of the main categories of TMJ pain are:
- Myofascial pain: pain in the muscle and the tissue
- Derangement of the joint, meaning a misalignment within the temporomandibular joint
- Degenerative joint disease around the temporomandibular joint
Stretching the muscles around the neck, shoulders, and chest can relieve some of this discomfort. Addressing tightness with stretching and supported yoga poses can decrease some of the myofascial tension and allow the jaw to align better.
3 Yoga Practices for TMJ Pain Relief
1. Do a Body Scan
Scanning your body for pain and discomfort is a great way to help determine where you are experiencing tension and TMJ pain. 
- You can do this lying down or seated.
- Scan your body, moving your attention through the entire head—from the scalp to the forehead, to the eyes, to the cheeks, to the nose, to the mouth, to the jaw, and down into the neck (front, sides, and back), upper back and shoulders as well as the muscles of the chest.
- Notice if there are any areas where you are holding tension or areas where you notice discomfort. Use your breath to help you relax any areas of tension you find.
- Inhale, breathing in, and observing.
- Exhale, release the tension, and focus on relaxing the muscle tissue in each area.
- Take as many rounds of the breath cycle as needed to allow an area of tension to release.
Often, those with TMJ hold a great deal of tension in their head, neck, and shoulders. A simple body scan can create the awareness to observe where you hold tension and to help you focus on releasing it. This is a process that can be repeated as often as needed.
2. Stretch Your Neck
Neck stretching is also a great way to relieve TMJ discomfort and pain because tense neck muscles and fascia can significantly impact pain in the jaw. 
- While sitting, drop your head to one side, letting your ear drop toward your shoulder and keeping your chin facing forward. Hold this for 3 to 4 breaths.
- Keeping your head dropped to the side, rotate your chin down toward the same shoulder. Hold this for 3 to 4 breaths.
- Rotate your head back to the starting point.
- Repeat this cycle on each side for 2 or 3 rounds.
Do this throughout the day, especially any time you notice that your shoulders might be starting to raise or elevate as you become stressed or tense, especially while driving or holding devices.
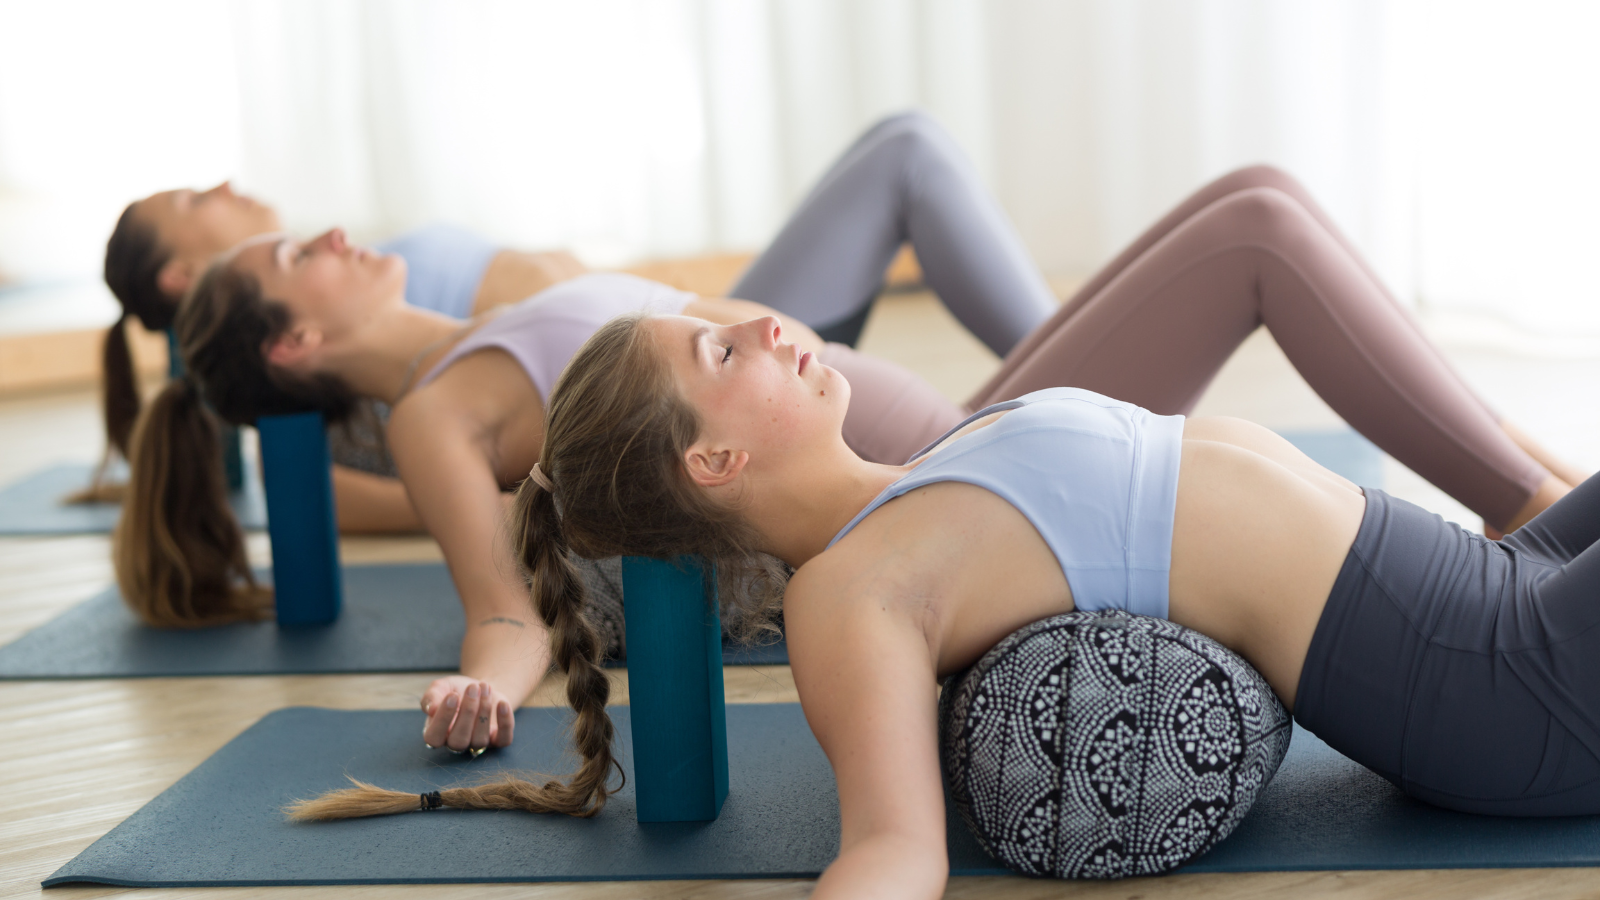
3. Practice Supported Backbends
Supported backbends are also a wonderful way to release tension in and around the neck, shoulders, and chest muscles. As our chest muscles tighten, we tend to draw our shoulders forward, which pulls our chin forward. 
The chin-forward position, coupled with jaw tension, is a common combination for those with TMJ and generalized stress. This combination is a recipe for additional pain.
- Roll a blanket into a long cylinder, placing it on a yoga mat so that it is parallel to the long edges of your yoga mat.
- Sit on the floor in front of your blanket roll, with your rear touching the end of the roll. Lie back on the roll so that the upper part of your lumbar spine, your thoracic and cervical spines, and your head are all resting on the blanket.
- Extend your arms out to your sides with your palms facing upward. Allow your spine to be supported and the muscles around your chest, shoulders, and neck to relax into that support.
- Your hips should be on the floor. Your knees can remain bent, or your legs can be extended.
- Stay here for at least a few minutes. Breathe in and out through your nose as you do so.
- Take long breath cycles, lengthening the inhalation and exhalation. Part your teeth slightly so that there is space between them.
- Let your entire body relax into the supported pose and allow tension to begin to release.
 Emily is passionate about yoga, anatomy, and sustainable movement. She is a yoga teacher, IAYT-certified yoga therapist, and massage therapist. Emily has created a 200 and 300-hour yoga teacher training program focused on therapeutics and a solid understanding of how yoga asanas can be adapted to fit anyone's needs. She also has written CE trainings to help teachers fill in the gaps after graduating from Yoga teacher training and their real-world experiences. She believes that Yoga is not just for skinny, flexible people. Yoga is for everyone, regardless of size, age, and health. One of her goals is to help yoga and movement teachers gain high-level training and education so they can, in turn, change the world through yoga. She has over 2500 hours of training and over 4000 hours of teaching experience. Her teaching has ranged from working with professional athletes to those confined to chairs.

