Relax Your Back in Forward Bends
Forward bends are an integral part of asana practice. Bodies folded in half “like a jack knife” are iconic images in the yoga photo canon, and loose hamstrings are often considered to be essential to being a “good” yogi. I quibble with this, but that’s fodder for another post!
Because of the wide variations in body structures, many—probably most—people will never touch nose to knee with straight legs. This is not a problem. Yoga practice was never meant to be about performance.
The good news is, forward bends confer other benefits beyond hamstring stretching. Forward bending is calming and grounding, and it is much more calming when our bodies can actually rest while we’re practicing. This is where a few well-placed yoga props can help.
Even if you are flexible, practicing Restorative (supported) forward bends can be very beneficial. It is arguable that extreme forward bending is not necessarily the healthiest choice even for those who can rest their noses on their knees. For people who are especially flexible, backing off and not moving to your maximum range of motion can be beneficial in protecting your joints, especially your hip joints, vertebral joints and sacroiliac joints.
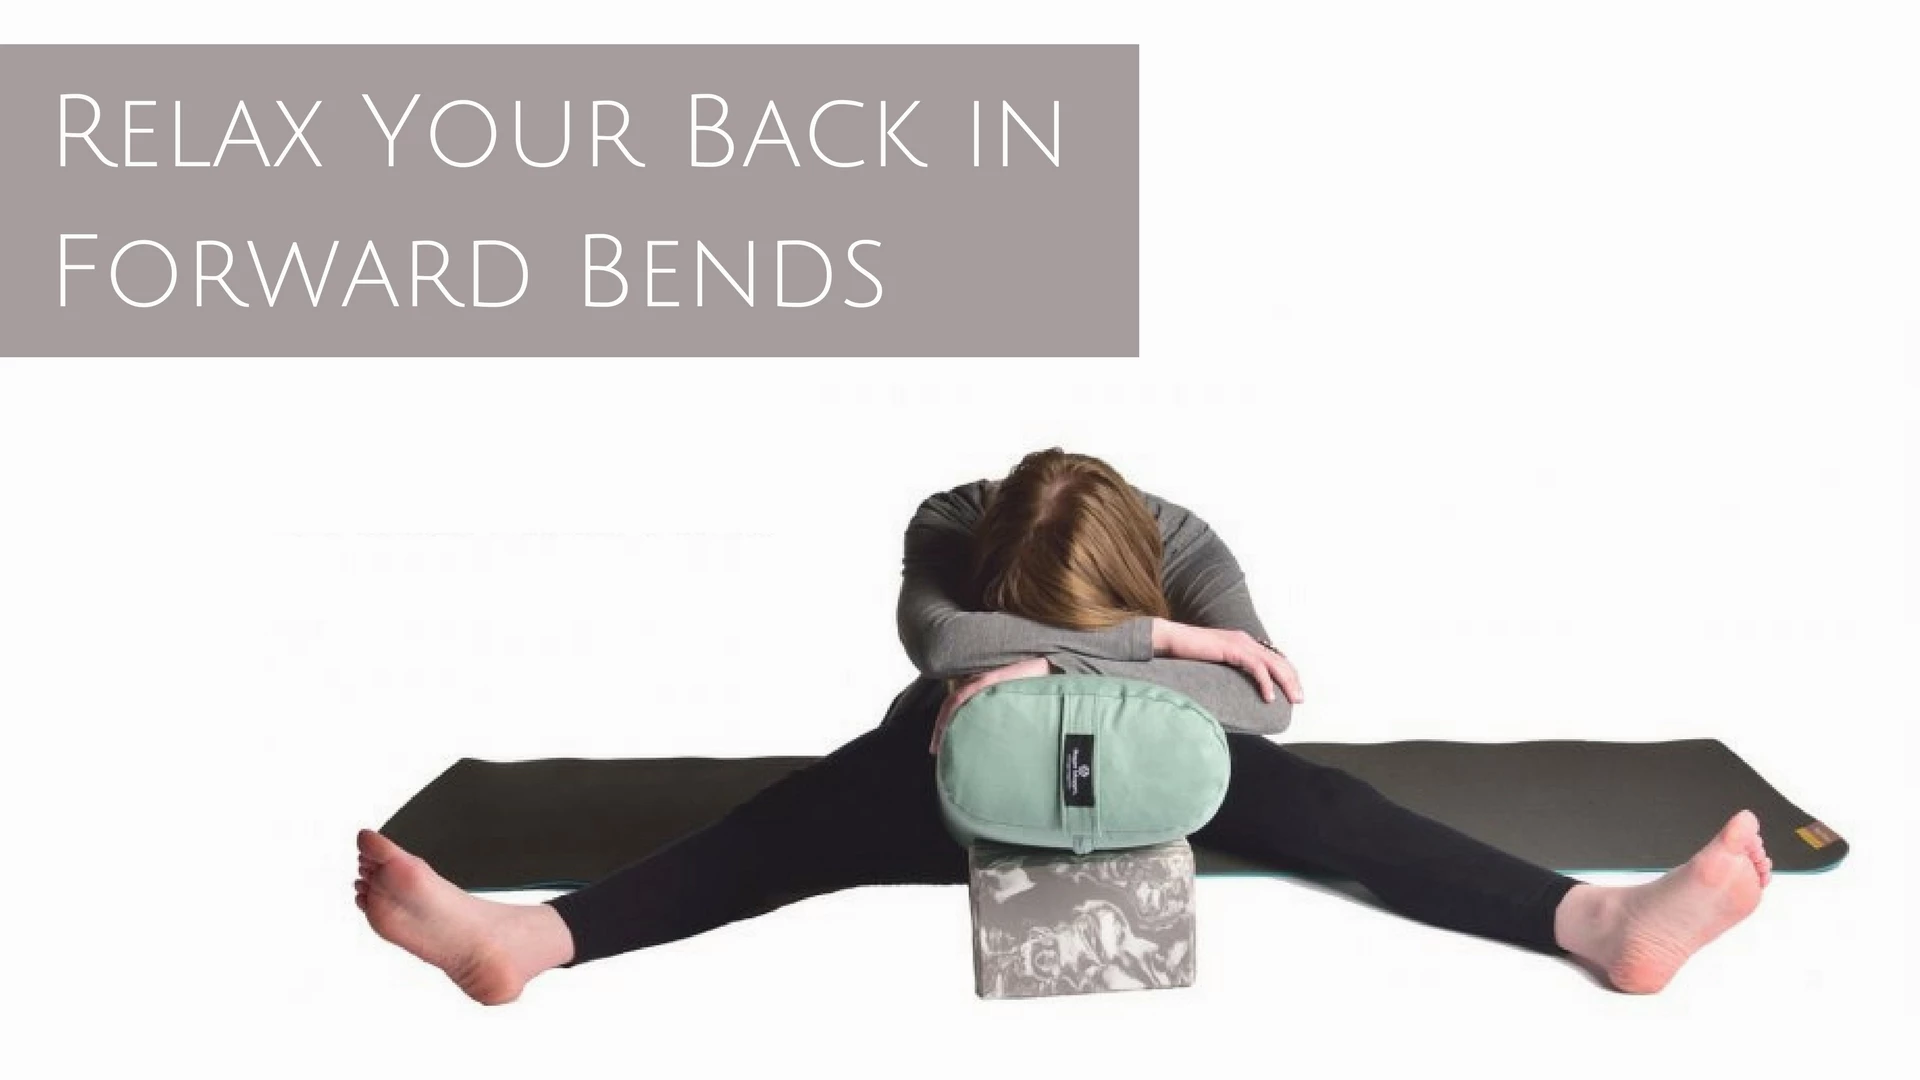
How to Bolster Your Forward Bends
- Place a yoga block on its side on a mat or on the floor. (Placing your block on a nonskid mat may or may not be necessary depending on the slickness of the surface you’re practicing on.)
- Place a standard bolster (the kind of bolster that’s wide and flat works best) on the floor so that one end is resting on the block, and the other is on your mat.
- Sit in front of the low end of your bolster in Upavista Konasana (wide-legged seated position).
- Leading with your pelvis, bend your torso forward over your slanted bolster.
- If your bolster is not high enough for your torso, you can augment it by placing one or more blankets on top. You can also build up just the area under your head with more blankets. I don’t recommend placing the block on its end to create more height under your bolster. Your block won’t be as stable in that orientation.
- Let your body rest completely. Breathe and relax. Stay as long as you want, but let your body settle into the pose for at least 10-20 slow, deep breaths. Settle onto your bolster a bit more deeply on each exhalation.

Also, read...
The First Yama: Ahimsa – Nonviolence
Related courses
Yoga for Core Integrity and Fall Prevention
Yoga for Flexibility: Fascia, Flow, and Metabolic Efficiency
The Psoas Connection: Core Stability for Movement, Breath & Digestion
Relax and Replenish with another favorite Restorative pose from YogaUOnline and special contributor, Charlotte Bell.

Charlotte Bell began practicing yoga in 1982 and began teaching in 1986. She was certified by B.K.S. Iyengar in 1989 following a trip to Pune. In 1986, she began practicing Insight Meditation with her mentors Pujari and Abhilasha Keays. Her asana classes blend mindfulness with physical movement. Charlotte writes a column for Catalyst Magazine and serves as editor for Yoga U Online. She is the author of two books: Mindful Yoga, Mindful Life, and Yoga for Meditators, both published by Rodmell Press. She also edits Hugger Mugger Yoga Products’ blog and is a founding board member for GreenTREE Yoga, a non-profit that brings yoga to underserved populations. A lifelong musician, she plays oboe and English horn in the Salt Lake Symphony and the folk sextet Red Rock Rondo whose 2010 PBS music special won two Emmys.
