When we use the term “open-hearted” to describe someone, what comes to mind is a person whose kindness extends to all. We can develop an open heart by practicing qualities such as those listed in the verse 1.33 of Patanjali’s yoga sutras. This sutra says:
“The mind becomes clear and serene when the qualities of the heart are cultivated: friendliness towards the joyful, compassion towards the suffering, happiness towards the pure and impartiality towards the impure.” — translated by Alistair Shearer
If you’ve ever been in a yoga intensive focusing on backbends, you may have seen some students experiencing emotional openings. While there are no scientific studies associating backbending with emotional catharsis, there are certainly anecdotal associations.
One theory that attempts to explain this phenomenon is that because we spend so much time bending over things—keyboards, steering wheels, counters—when we allow our chests to expand in backbends, we may unleash emotions that have been “stored” or “trapped” in these contracted tissues. This theory may or may not be accurate. Even if it is not true, there are other heart-healthy reasons to practice backbends, both active and passive.
Practicing poses that expand the ribcage help us maintain mobility and spaciousness in that area. The ribcage is the structure that houses the heart. Mobilizing the thoracic spine—the part of the spine that attaches to the ribcage—is an effective way to create spaciousness around the heart and lungs.
Yogic Breathing Can Reduce Heart Disease
Deep, abdominal breathing—as opposed to shallow, upper chest breathing—is essential to maintaining heart health. In Donna Farhi’s The Breathing Book, she explains the relationship between breathing and heart health:
“There have been a number of significant studies showing a correlation between upper chest breathing and heart disease. In one stunning report, patients who had already experienced a heart attack were taught how to breathe diaphragmatically and to generalize this behavior in everyday activities. In doing so they significantly reduced their chances of having a second heart attack.”
Deep, diaphragmatic breathing depends on thoracic and abdominal mobility. Below, we explore three poses that expand and mobilize the ribcage and abdomen to promote free breathing and open-heartedness.
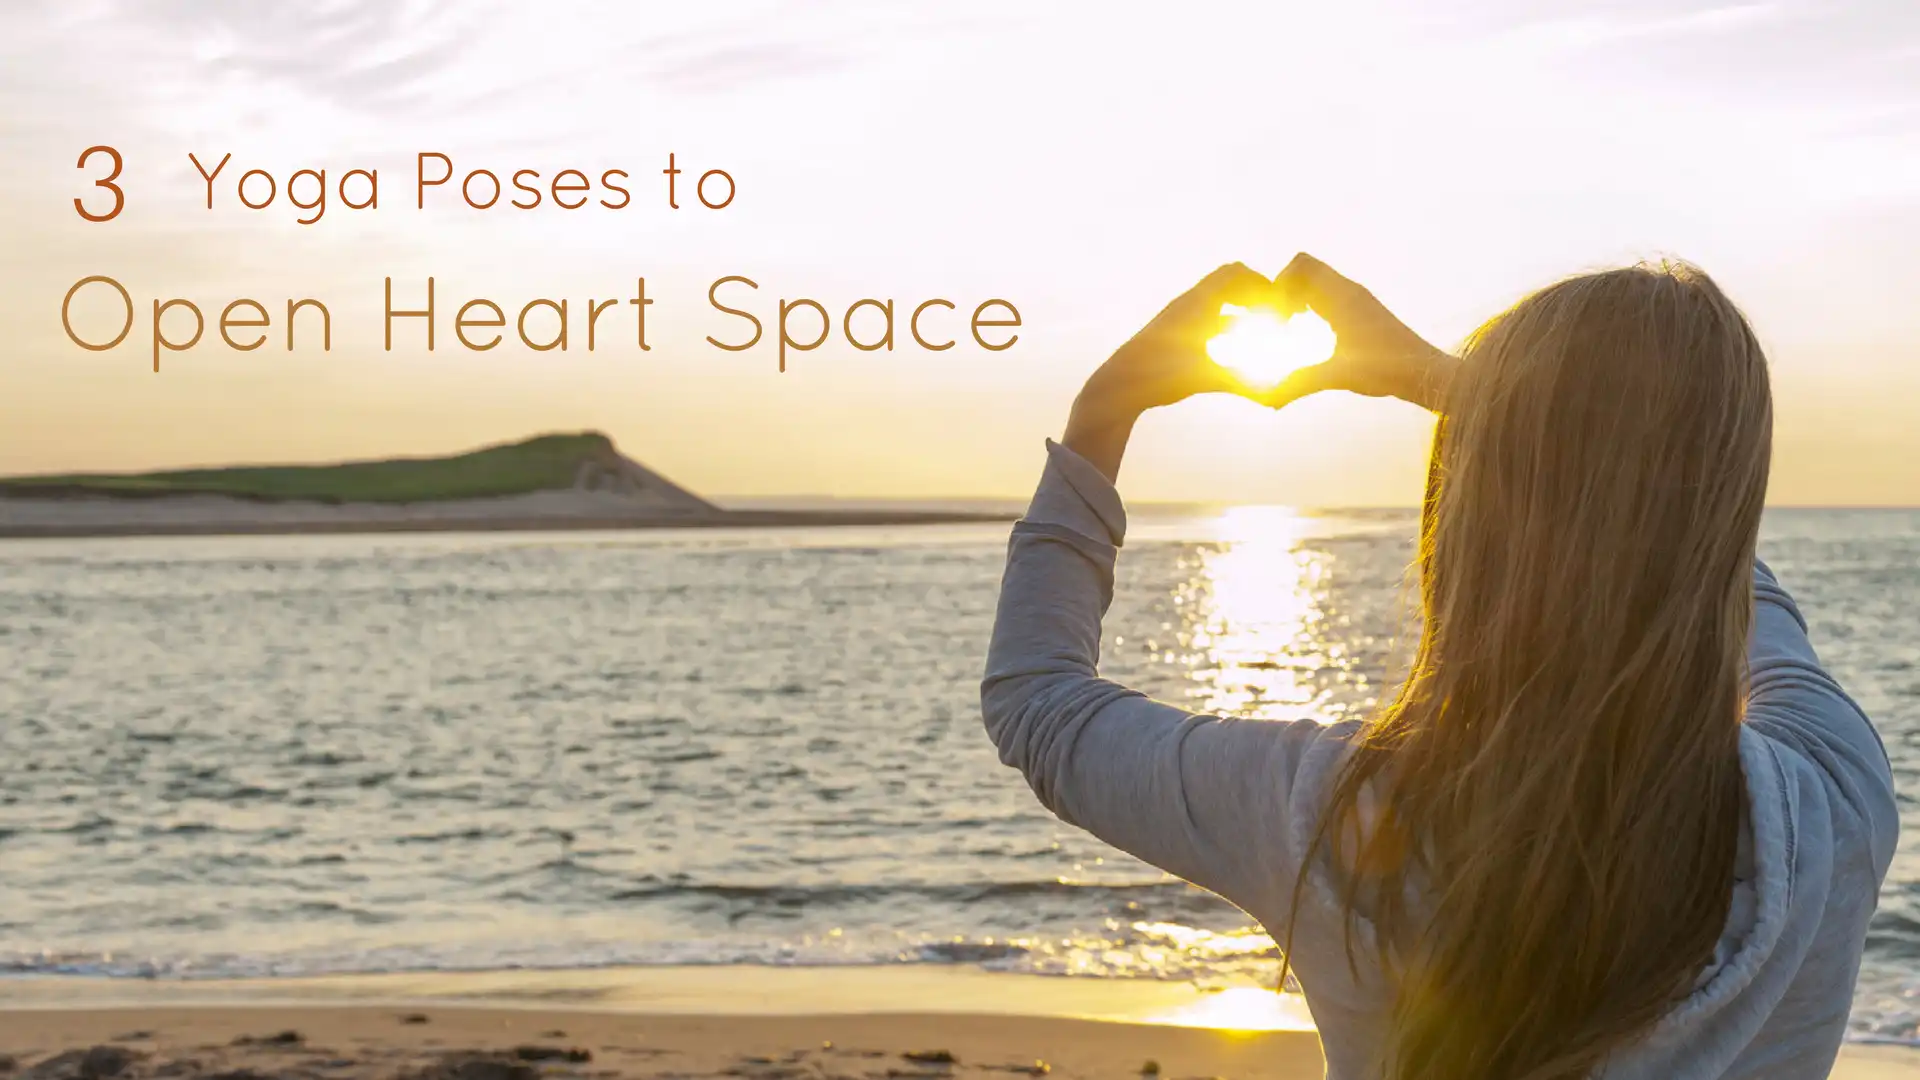
Yoga Practice to Expand the Heart
There are many, many poses in asana practice that can mobilize the ribcage. The three below can stand for other poses in their categories—lateral bending, twisting, and backbending. I’ve chosen relatively simple practices because part of expanding the heart is being kind to your body.
For the first two poses, you’ll just need a yoga mat. For the third one, gather a couple of yoga blocks, a strap or belt, and one or more blankets.
Talasana (Palm Tree Pose): Mobilizing the ribcage requires that we mobilize the thoracic spine. The thoracic spine is built for lateral bending. In addition, when we bend to the side, we stretch the soft tissue and create space between the ribs on the opposite side. Since the lungs are also housed in the ribcage, there’s more room to breathe.
- Stand on a yoga mat with your feet hip-width apart.

- Raise your arms overhead so that your arms are parallel.
- Grab your right wrist with your left hand, pointing your right palm to the right. (or use a strap as pictured)
- Ground your right foot and extend laterally to the left, allowing the entire right side of your body to lengthen and stretch.
- Take 5 to 10 deep breaths as you extend to the left.
- Release the arms to your sides and relax for a few breaths in Tadasana (Mountain Pose), feeling the effects of the pose.
- Repeat on the other side.
Jathara Parivartanasana (Revolved Belly Pose): In addition to lateral bending, the thoracic spine is built for rotation. Any twist will help mobilize that section of the spine. There are, of course, lots of wonderful standing and seated twists. But lying down creates a different relationship to gravity, one that allows for easier breathing, and therefore, more mobility.
- Lie on your back on a yoga mat with your feet hip-width apart, your knees bent, and the soles of your feet on the floor.

- Extend your arms straight outward from your shoulders and turn your palms up.
- Draw your knees in gently toward your chest, but only as far as you can maintain your lumbar curve. Stop just short of where your low back starts to press into the floor.
- Keeping your knees bent, extend your legs to the right side, allowing them to rest on the floor.
- Look up toward the ceiling or turn your head gently to the left.
- Take 5 to 10 deep breaths.
- Lift your legs back up to the center. Place the soles of your feet on the floor, hip-width apart, and relax. Feel how your back is resting on the floor. Do the two sides of your body feel different from each other?
- Repeat on the other side.
Matsyasana (Supported Fish Pose): Once you’ve mobilized your thoracic spine in the ways it’s designed to move, you can challenge it with a backbend. The thoracic spine doesn’t actually extend much, meaning that it’s not designed to move too far in the direction of a backbend. The facet joints, the joints between each vertebra, are designed to put brakes on backbending. But that doesn’t mean that you can’t still extend the thoracic spine a bit. Because we all spend so much time bending forward over desks, keyboards, etc., it wouldn’t be a bad idea to practice this pose every day. One suggestion: In order for this pose to be comfortable, your head needs to be level, not tilting back. Make sure to put enough blankets under your head and neck to ensure that your neck is relaxed. Then relax and enjoy!
- Sit on a yoga mat with your legs extended out in front of you. Have a couple blocks, a blanket, and a strap close by.

- Place your blocks on your mat, one in front of the other, on their sides, so that they are medium height. If you find that this is too much for your back, neck or shoulders, feel free to lay your blocks flat so that they are at their lowest height.
- With your hips 8 to 12 inches (or more) in front of your blocks, gently lie back so that your buttocks remain on the floor. Your back—somewhere toward the middle to lower ribcage—should be resting on the closer block and your head is resting on the further one. Where the corner of the block hits your low to middle back depends on the length of your spine. Feel free to adjust your body so that the blocks are higher or lower on your back, depending on what feels right for you. This pose is most effective when you are comfortable, so take the time to set yourself up carefully.
- If your head is tilting back, sit up again and place a thickly folded blanket on top of the block that is to support your head. After you lie back again, adjust the position of the blanket so that it supports both your neck and head.
- Let your body settle into your blocks with your arms resting at your sides at an angle of at least 45 degrees. Breathe deeply.
- After a few minutes, take your strap and hold onto it with your hands shoulder-width apart or wider.
- Reach your arms out overhead so that you’re lengthening your body from your feet to your fingertips (as in the photo).
- Take 5 to 10 deep breaths here.
- Relax your arms on the floor at about a 45-degree angle. Relax and breathe.
- When you’re ready to come out of the pose, draw your arms in close to your sides and push yourself up to sitting. Sit here for a few breaths to feel the aftereffects.
- If you just can’t get comfortable in this pose, try lying on a yoga bolster instead of the two blocks.
You can practice these three poses on their own, or you can practice them to prepare for more challenging backbending poses. Make sure you breathe deeply and continuously throughout your practice. And don’t forget to practice Savasana.
Would you like to read another Yoga Pose Primer from special contributor, Charlotte Bell? Read Refining Cobra Pose (Bhujangasana) – New Alignment Tips for an Old Stand-By.
More on Yoga and Balance? Study with YogaUOnline and Baxter Bell MD – Yoga for Core Integrity and Balance.


